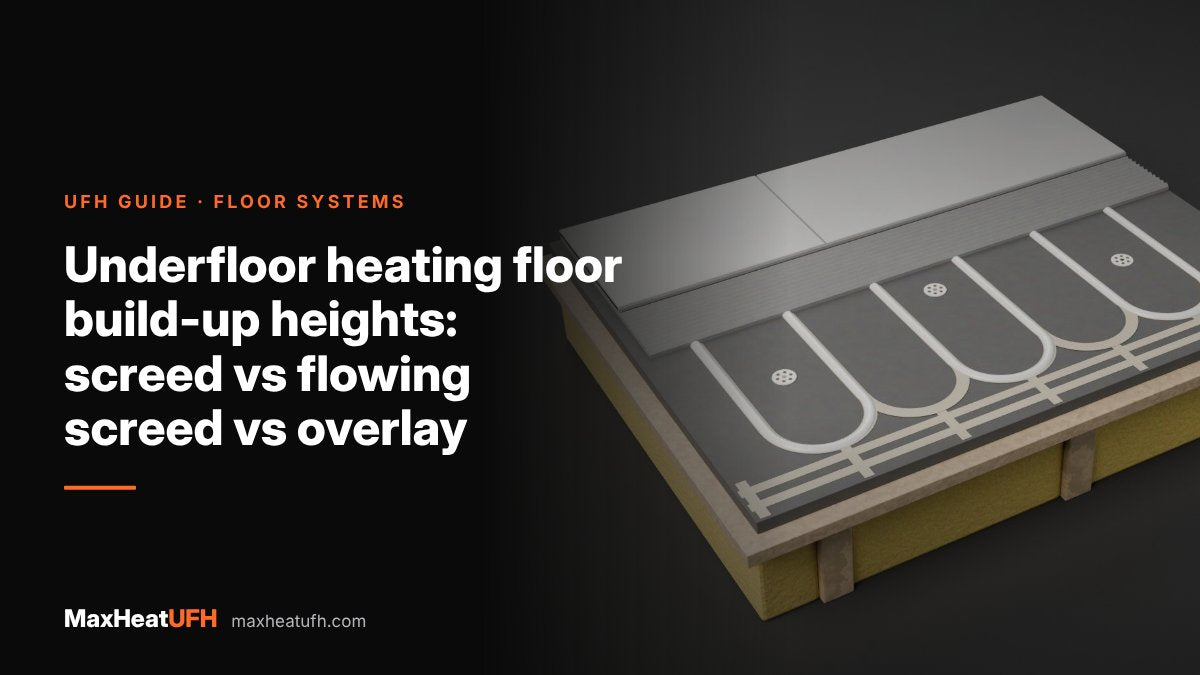
Underfloor heating floor build-up heights: screed vs flowing screed vs overlay
How much height each underfloor heating system adds, from electric mats and overlay boards to flowing and sand and cement screed, with minimum screed depths, Part L insulation and worked build-ups.
Short answer: An electric mat adds about 3 to 4mm, hidden in the tile adhesive. Overlay boards add 15 to 25mm plus adhesive and finish. A screeded system needs insulation plus the screed: about 35 to 50mm of flowing screed (with at least 30mm over the pipes) or about 65mm of sand and cement in a home. On a new ground floor, the insulation needed to meet Part L's 0.18W/m²K is often around 100mm or more, so a screeded build-up is commonly 150 to 170mm before the floor finish.
Height is often the deciding factor when you choose an underfloor heating (UFH) system. In a new build or extension you can design the floor depth from the start. In an existing room every millimetre counts, because the new floor has to meet door thresholds, kitchen plinths, stairs and the floor in the next room.
This guide compares the build-up heights of each system, from the thinnest to the deepest, with the minimum screed depths from the standards and screed makers and the insulation that Building Regulations call for. For how each system works, see floor systems explained.
How much height does underfloor heating add?
From almost nothing to over 150mm, depending on the system. Here is each one, thinnest first. Heights are for the heating layer only, before the floor finish.
| System | Heating layer | Typical use |
|---|---|---|
| Electric mat in tile adhesive | About 3 to 4mm | Bathrooms, kitchens, small tiled rooms |
| Spreader plates between joists | None above the joists | Timber floors with access from above or below |
| Overlay board, 12mm pipe | 15 to 18mm | Retrofits on existing solid floors |
| Overlay board, 16mm pipe | 20 to 25mm | Retrofits with a little more height |
| Routed chipboard on joists | 22mm board (replaces the deck) | Timber floors, new or lifted |
| Flowing screed over insulation | Insulation plus about 35 to 50mm | New builds, extensions, dug-out floors |
| Sand and cement screed over insulation | Insulation plus about 65mm (domestic) | New builds, extensions, dug-out floors |
The overlay heights are our own boards: MaxHeatFix at 15mm, MaxHeatPro at 16 or 20mm, MaxHeatDeck at 20mm and MaxHeatPanel at 18 or 25mm. Our electric mats are about 3 to 4mm thick. MaxHeatChip routed chipboard is 22mm and takes a 6mm top board over the pipes.
How thick does a screed over underfloor heating need to be?
About 65mm for sand and cement in a home, and about 35 to 50mm for a flowing screed. The exact minimum depends on the screed type, how it is laid and the loads it carries.
| Screed | Minimum or typical depth | Source |
|---|---|---|
| Floating sand and cement, general | 75mm minimum | MPA Mortar data sheet (BS 8204) |
| Floating sand and cement, domestic | 65mm normally satisfactory | MPA Mortar, TTA |
| Flowing cement screed, floating, domestic | 35mm minimum, 30mm over pipes | Screed maker data sheet |
| Flowing cement screed, unbonded | Nominal 50mm, 30mm over pipes | Screed maker data sheet |
| Panel system, 2.0kN/m² load | Cement 45mm, anhydrite 35mm | Manufacturer data sheet |
| Panel system, 5.0kN/m² load | Cement 75mm, anhydrite 65mm | Manufacturer data sheet |
One UFH maker's data sheet asks for 35mm of calcium sulphate or liquid cementitious screed over the pipes. Always use the figure from your screed supplier, because it sets the warranty.
Depth also sets drying time. One screed products maker gives about 1mm a day for the first 40mm of a calcium sulphate screed, and 0.5mm a day after that. The TTA says an unconditioned 65mm sand and cement screed needs at least 80 days to dry, and 75mm needs 100 days. Our guide to screed depths and drying times has more.
How much insulation goes under underfloor heating?
Enough to meet Building Regulations for the floor, which is usually far more than UFH needs on its own. For a new floor in England, Approved Document L sets a limiting U-value of 0.18W/m²K. For a renovated or retained floor, it is 0.25W/m²K.
East Suffolk Council's Building Control guidance shows what that means in practice. Its ground floor examples reach 0.18W/m²K with 100mm of PIR board, based on a typical floor shape, and it notes that 150mm of PIR is often specified to offset extra glazing. The thickness you need depends on the floor's size and shape, so get the U-value calculated for your project.
BS EN 1264 also sets a minimum insulation under the pipes, so the heat goes up rather than down:
| What is below the heated floor | Minimum insulation (m²K/W) |
|---|---|
| A heated room | 0.75 |
| Ground, or an unheated room | 1.25 |
| Outside air, for example over a garage | 2.00 |
On a ground floor, the Part L figure is the one that sets the thickness. Our guide to insulation under UFH explains both.
What does a full floor build-up look like?
Add up every layer from the slab or joists to the top of the finish. These examples use the figures above. Your own insulation thickness will come from your U-value calculation.
| Build-up | Layers | Total before finish |
|---|---|---|
| New ground floor, sand and cement | 100mm PIR + 65mm screed | 165mm |
| New ground floor, flowing screed | 100mm PIR + 50mm screed | 150mm |
| Same, with 150mm PIR | 150mm PIR + 50mm screed | 200mm |
| Overlay on an existing slab | 18mm MaxHeatPanel | 18mm |
| Electric mat on an insulated backer | 10mm backer board + mat in adhesive | About 14mm |
Then add the finish. As an example, a 10mm tile on a 5mm adhesive bed adds 15mm, so the 18mm overlay floor ends up about 33mm above the old slab. A 20mm engineered board adds 20mm, plus any underlay.
One manufacturer publishes full structural heights for its panel system, measured from the slab to the top of the screed. They range from 97mm (30mm of insulation, cement screed, light load, over a heated room) to 172mm (75mm of insulation, cement screed, heavier load, over outside air). On a ground floor that must meet 0.18W/m²K you will usually need more insulation than those examples include.
Should I use screed, flowing screed or overlay?
Use screed where you are building or digging out the floor, and overlay where you cannot lose the height. Height is not the only difference.
- Sand and cement screed: the deepest, with the most thermal mass. It is the slowest to dry and to warm up, and the steadiest once warm.
- Flowing screed: thinner, and poured so it flows round the pipes. It still needs careful drying and, for calcium sulphate, laitance removal before tiling.
- Castellated panels: hold the pipe in raised bosses under a screed or levelling compound, with no clips. See our castellated panels.
- Overlay boards: the thinnest water system, laid over the existing floor with no drying time. Less mass, so faster to respond, but they rely on the room being reasonably well insulated. See low-profile overlay UFH.
- Joisted systems: spreader plates add no height above the joists, and routed chipboard replaces the deck. See UFH in joisted timber floors.
- Electric mats: the thinnest of all, for tiled rooms. Our mats are made for tile and stone floors.
How do I keep the build-up as low as possible?
Choose the thinnest system that suits the room, and take out what you can before you start.
- Measure first. Check the height you can gain at every door, the kitchen plinths, the stair nosing and the floor in the next room.
- Lift the old finish. Taking up 10mm of old tile and adhesive gives you 10mm back.
- Use 12mm pipe in overlay. It allows boards of 15 to 18mm, against 20 to 25mm for 16mm pipe. Loops must be shorter, so you may need more manifold ports.
- Use flowing screed instead of sand and cement. 35 to 50mm instead of about 65mm, if the screed maker allows it for your floor.
- Dig out if you need performance. If the room loses a lot of heat and you want a screeded floor with full insulation, lowering the slab may be the only way to get both.
Design your UFH system yourself in 3 minutes with MaxHeatUFH ProLoop and get an instant quick design and quote. Start your design
Frequently asked questions
What is the thinnest underfloor heating?
An electric mat laid in the tile adhesive, at about 3 to 4mm. The thinnest water system is an overlay board, from 15mm.
How much height does overlay underfloor heating add?
The board adds 15 to 25mm, plus the adhesive and floor finish. A tiled overlay floor is often about 30 to 40mm higher than before.
What is the minimum screed depth over underfloor heating?
For sand and cement in a home, about 65mm. For flowing screed, one maker gives 35mm minimum floating, with at least 30mm over the pipes. Follow your screed maker's figure.
How deep is a typical underfloor heating floor build-up in an extension?
Often about 150 to 170mm before the floor finish, with about 100mm of insulation and 50 to 65mm of screed. More insulation means a deeper floor.
Can I put underfloor heating on an existing concrete floor without raising it much?
Yes, with overlay boards bonded to the slab, or with an electric mat under tiles. Check the existing slab is sound, flat and dry first.
Does underfloor heating need insulation under it?
Yes. BS EN 1264 sets a minimum of 1.25m²K/W on the ground, and Building Regulations usually ask for more on a new floor.
Does a thicker screed give more heat?
No. It gives more thermal mass, so the floor warms more slowly and stays warm longer. The heat output depends mainly on the water temperature, pipe centres and floor finish.
Sources: MPA Mortar Data Sheet 22 (screeds), The Tile Association: tiling to heated floors, East Suffolk Council: extensions and alterations (Part L U-values)
Products in this guide
Watch how each part works and how to fit it, and download its data sheet and install manual.



Every data sheet and manual: Product Library · All videos: MaxHeatUFH on YouTube
Design it in MaxHeatUFH ProLoop
Add your rooms, choose screed, overlay, joisted or electric, and get a free quick design and full kit list with prices.