








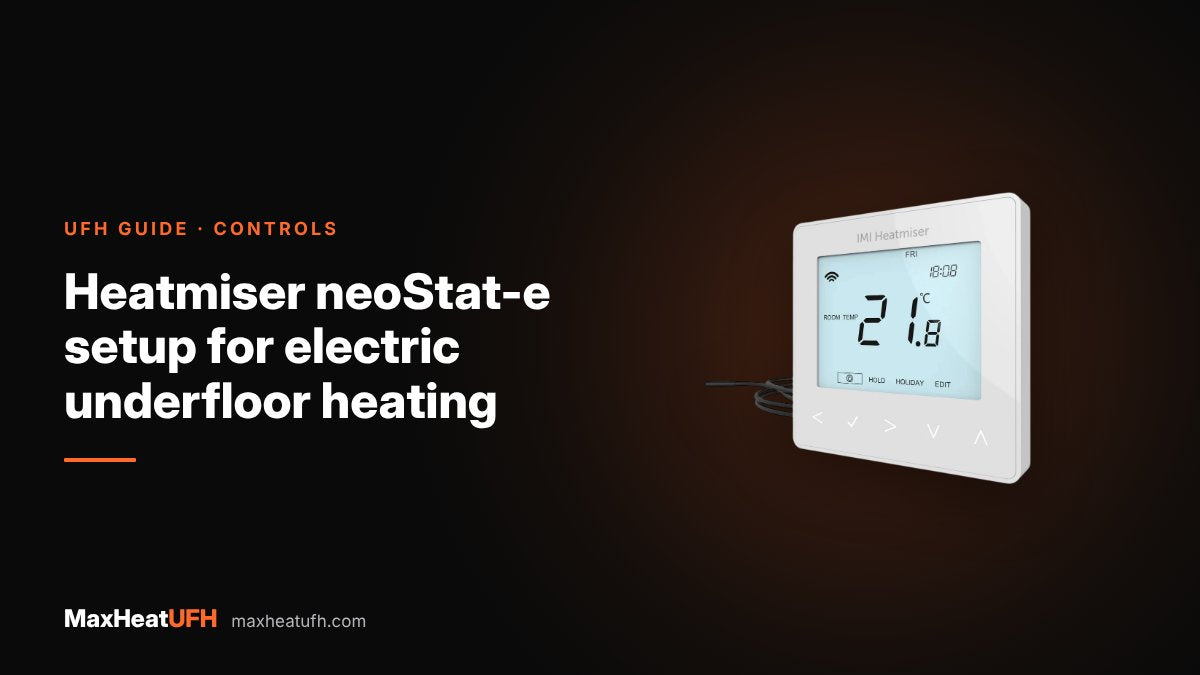
Heatmiser neoStat-e setup for electric underfloor heating
Step-by-step neoStat-e setup for electric underfloor heating from Heatmiser's own manual: the setup menu, sensor selection, floor limit, clock and comfort levels, neoHub pairing, timer mode and factory reset.
Short answer: On a neoStat-e for electric underfloor heating, open the setup menu, set feature 06 (sensor selection) to 02 for floor sensor only, or to 03 or 04 if you want air control with a floor limit, then set feature 07 (floor temperature limit, 20 to 45°C, default 28°C). Heatmiser's V3 manual says air-sensor-only control must not be used with electric underfloor heating. The thermostat switches up to 16A, and a qualified electrician must make the final connection to the mains.
The Heatmiser neoStat-e is the electric floor heating version of the neoStat. It comes with a 3m floor sensor, can run as a thermostat or a time clock, and can be added to the Heatmiser app through a neoHub. Out of the box it reads the air with its built-in sensor, which is the wrong setting for most electric floors. A few minutes in the setup menu fixes that.
This guide follows Heatmiser's own neoStat-e V3 manual and its support articles. It covers fitting, the setup features that matter, sensor and floor limit settings, the clock and programme, pairing to a neoHub, timer mode and a factory reset. If you want the reasons behind each setting rather than the button presses, read our guide to electric UFH thermostat settings.
How do I fit and wire a neoStat-e?
You fit it flush in a back box at least 35mm deep, and a qualified electrician wires it, because it is a fixed mains connection. Heatmiser's manual says installation must be carried out by a qualified electrician in line with local regulations. In the UK that means BS 7671, and a new circuit, or work near a bath or shower, is notifiable under Part P of the Building Regulations.
- Loosen the retaining screw at the bottom and separate the front from the back plate.
- The electrician wires the supply, the heating mat cold tails and the floor sensor to the terminals shown in the wiring diagram in the manual.
- Screw the back plate into the back box.
- Clip the front back on and tighten the retaining screw.
Mount it at eye level, away from direct heat. Heatmiser's bathroom guidance is clear that its thermostats are not rated for use inside a bathroom, so for a bathroom floor the thermostat goes outside the room and the floor sensor does the measuring. See where to put an underfloor heating thermostat for positioning.
The floor sensor sits in the floor between two runs of heating cable, usually in a conduit so it can be replaced later. The neoStat-e V3 is supplied with a 10K sensor and can also be set for 12K or 15K sensors. Heatmiser's support pages list 10K3A1, 12K3A1 and 15K3A1 as the compatible types for version 2 neoStats.
How do I get into the neoStat-e setup menu?
On a V3, use the left and right keys to move to SETUP, press and hold the tick key for 3 seconds until SETUP is highlighted, then press tick once. You will see a small feature number and a larger value.
- Up and down move through the features.
- Left and right change the value.
- Tick confirms and leaves the menu.
On a V2 (white display), Heatmiser's support steps are: move to the power icon, press and hold tick until SETUP and CLOCK appear, then press tick with the box over SETUP. Older V1 units have a blue display with SETUP shown in the bottom right corner.
Which setup features matter for electric underfloor heating?
Feature 06 (sensor selection) and feature 07 (floor limit) matter most. The table below is the full thermostat mode list from the neoStat-e V3 manual.
| No. | Feature | Range | Default |
|---|---|---|---|
| 01 | Pair to neoHub | Press tick to pair | n/a |
| 02 | Switching differential | 0.5, 1, 2 or 3°C | 1°C |
| 03 | Frost protection temperature | 7 to 17°C | 12°C |
| 04 | Output delay | 0 to 15 minutes | 0 |
| 05 | Up/down temperature limit | 0 to 10°C | 0 |
| 06 | Sensor selection | 00 to 04 | 00 (built-in) |
| 07 | Floor temperature limit | 20 to 45°C | 28°C |
| 08 | Optimum start | 0 to 5 hours | 0 |
| 09 | Rate of change | Minutes per 1°C rise | n/a |
| 12 | Programme mode | 00 to 03 | 01 (5/2 day) |
| 13 | Temperature format | °C or °F | °C |
Features 10 and 11 are not used on this model.
Which sensor setting should I choose?
Choose 02 (floor sensor only) for most bathrooms and tiled floors, or 03 or 04 if you want the room air to control the heating while the floor sensor caps the floor temperature. Never leave it on 00 or 01 on its own for an electric floor: the V3 manual says air-sensor-only control must not be used for electric underfloor heating.
| Feature 06 value | What it does | Typical use |
|---|---|---|
| 00 | Built-in air sensor | Not for electric floors on its own |
| 01 | Remote air sensor | Not for electric floors on its own |
| 02 | Floor sensor only | Bathrooms, en-suites, tiled kitchens |
| 03 | Built-in air sensor plus floor sensor | Living rooms where the thermostat is in the room |
| 04 | Remote air sensor plus floor sensor | Thermostat outside the room, air sensor inside |
Heatmiser gives a good example of why floor mode suits bathrooms. If a bathroom also has a heated towel rail, a thermostat reading the air can be satisfied by the rail, so the floor never switches on and you get a warm room with a cold floor. Reading the floor avoids that.
To set floor only on a V3: open setup, press up until the small number shows 06, press left or right until the large number shows 02, then press tick. The screen should then show FLOOR TEMP. If you see E1 instead, the sensor is missing, wired wrongly or not compatible.
What floor temperature limit should I set?
Set feature 07 to the lowest limit that still heats the room, and never above what your floor covering allows. The neoStat-e accepts 20 to 45°C and ships at 28°C. In the V3 manual, the floor limit only works when feature 06 is set to 03 or 04; in floor-only mode (02) the set temperature on the screen is itself a floor temperature.
Two other limits apply. BS 7671 Section 753 says that where bare skin or footwear can touch the floor, the surface should be kept to about 35°C to prevent burns, and makers may set lower limits, so check your heating mat instructions too. For wood, laminate and vinyl, use the maximum floor temperature given by the flooring maker.
How do I set the clock and programme?
Set the clock first, then edit the four comfort levels. To set the clock on a V3:
- Move to the clock icon and press and hold tick to turn the display off.
- Press right to select CLOCK, then tick.
- Use up and down to set the year, month, date and time, pressing tick after each.
- Press tick to confirm, then move to the display icon and press tick to turn the display back on.
The default comfort levels are WAKE 07:00 at 21°C, LEAVE 09:00 at 16°C, RETURN 16:00 at 21°C and SLEEP 22:00 at 16°C. To change them, move to EDIT, press tick, choose the day or period, and set the hours, minutes and temperature for each level, pressing tick after each. Set unused periods to --:--, then move to DONE and press tick. In floor sensor only mode, these temperatures are floor temperatures.
Feature 12 sets the programme type: 00 non-programmable, 01 weekday/weekend (the default), 02 seven day, or 03 the same 24-hour schedule every day. If the neoStat-e is on a neoHub, the programme is set in the Neo app instead.
How do I pair a neoStat-e to a neoHub?
Start in the app, then press feature 01 on the thermostat within two minutes. Connect the neoHub to your router and power, wait for the link light to turn green, and add a location in the free Neo app.
- In the app, choose to add a neoStat, give it a name and press next.
- On the neoStat-e, move to SETUP and press and hold tick until SETUP is highlighted.
- Press tick once to show feature 01, then press tick again.
- MESH flashes until pairing works, then stays on.
For voice control and app tips, see our neoHub, Alexa and Google setup guide.
How do I switch to timer mode or factory reset?
Both use the same mode select screen. On a V3, move to SETUP, press and hold tick for 3 seconds until SETUP is highlighted, then hold tick for 10 seconds. Choose 1 for thermostat or 2 for time clock with the left and right keys and press tick. A factory reset from the reset icon also ends at this choice, and it clears all setup and pairing, so you will need to set features 06 and 07 again and re-pair to the hub.
Heatmiser uses timer mode for an electric towel rail on its own neoStat-e, with the thermostat outside the bathroom and no probe in use. Do not use timer mode for a heated floor: it switches by time only, with no floor sensor control.
Error codes are E0 (internal sensor fault), E1 (floor sensor fault, missing or wired wrongly) and E2 (remote air sensor fault). Our neoStat troubleshooting guide covers how to clear them.
Products for this job
- Heatmiser neoStat-e Electric Floor Heating Thermostat
- Heatmiser neoHub G3, for app control
- Heatmiser Temperature Sensor Probe, as a replacement floor sensor
- All electric UFH thermostats
Frequently asked questions
Does the neoStat-e need a floor probe?
Yes, for electric underfloor heating. Heatmiser's V3 manual says air-sensor-only control must not be used, and its support pages say an electric floor showing E1 needs a working floor probe. A 3m floor sensor comes in the box.
What is the maximum load on a neoStat-e?
Heatmiser rates the neoStat-e to switch up to 16A. Larger floors need splitting across thermostats or switching through a contactor, chosen by your electrician.
Why does my neoStat-e show E1?
E1 means the floor sensor is not connected, is wired wrongly, or is faulty or the wrong type. Check the probe wiring and the probe type setting before replacing anything.
Can I fit the neoStat-e in the bathroom?
No. Heatmiser says its thermostats are not rated for bathrooms. Fit it outside the room and use the floor sensor to control the bathroom floor.
What is the default floor limit on the neoStat-e?
28°C, adjustable from 20°C to 45°C in feature 07. It only acts as a limit when feature 06 is set to 03 or 04.
Can I set the neoStat-e without the app?
Yes. Every setting in this guide can be made on the thermostat. The neoHub and app add remote control and scheduling from your phone.
Does a factory reset delete my settings?
Yes. It clears setup features and pairing. Note your sensor mode and floor limit first and set them again afterwards.
Sources: Heatmiser manual finder (neoStat-e V3 manual), Heatmiser neoStat-e product page, Heatmiser: how to get a neoStat to read floor temperature only, Heatmiser: neoStat E0, E1 or E2 error codes, Heatmiser: bathroom setup with underfloor heating and towel rails, Heatmiser: products for an electric towel rail, ELECSA: BS 7671 Section 753 floor heating, LBHF Building Control: home electrical safety (Part P)
Products in this guide
Watch how each part works and how to fit it, and download its data sheet and install manual.



Every data sheet and manual: Product Library · All videos: MaxHeatUFH on YouTube
Design it in MaxHeatUFH ProLoop
Add your rooms, choose screed, overlay, joisted or electric, and get a free quick design and full kit list with prices.


