How to press MLCP fittings: cut, ream, press and test
Step-by-step method for making U-profile MLCP press joints on multilayer pipe: cutting, calibrating, insertion checks, pressing and pressure testing, with the common mistakes to avoid.
Short answer: To press an MLCP fitting, cut the pipe square with a multilayer cutter, calibrate and bevel the bore with a reamer or chamfer tool, push the pipe fully onto the fitting until it shows in the inspection window, then close a U-profile jaw of the same size squarely over the stainless sleeve until it shuts fully. Finish with a pressure test before anything is covered. MaxHeatUFH MLCP press fittings are rated to 10 bar and 80°C continuous (95°C peak).
Multilayer composite pipe (MLCP) has an aluminium tube bonded between two plastic layers. A press fitting seals on the inside of that pipe: a brass insert with O-rings sits in the bore, and a stainless steel sleeve around the outside is squeezed by the press jaw so the pipe grips the insert for good. Almost every failed joint comes from the preparation, not the press. A burr, an oval bore or a pipe that is not fully home will pass a quick look and leak under test.
This guide walks through each step, the tools for each, how to check the joint and how to test it, with the mistakes to avoid. It covers U-profile fittings, which is what MaxHeatUFH sells. If you work with copper as well, see our M-profile vs U-profile press jaws guide first.
What do I need to press MLCP fittings?
You need a multilayer pipe cutter, a reamer or chamfer tool for the pipe size, the press fittings and a press tool with U-profile jaws in the same sizes as the pipe.
| Job | Tool | MaxHeatUFH option |
|---|---|---|
| Cut square | Multilayer pipe cutter | Pipe Cutter 14-32mm |
| Re-round and deburr bore | Reamer (calibrator) | Star reamer |
| Bevel the pipe end | Chamfer tool | 16mm or 20/25/32mm |
| Press the sleeve | U-profile press tool | Manual set or battery tool |
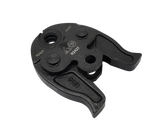
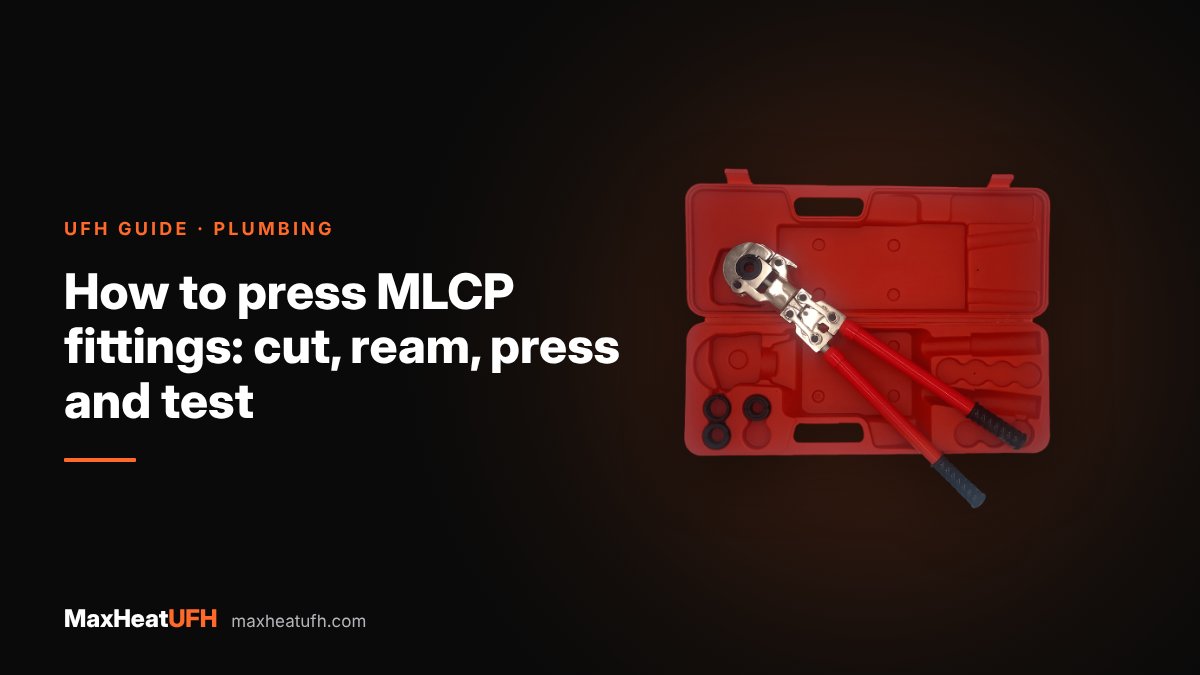
For the press itself there are two routes. The Manual Pressing Clamp Tool Set comes with 16, 20, 25 and 32mm U-profile heads and needs no battery. It suits manifold tails, radiator drops and the odd repair. For daily work, the Electric Hydraulic Press Tool Set takes U-profile jaws for 16 to 32mm multilayer and M-profile jaws for copper. Jaws are sold separately.
Fitting makers are firm on tooling. One manufacturer says to use only tooling it approves, kept maintained and calibrated, and to follow its latest instructions to keep the warranty. Whatever brand you use, check that the jaw profile and tool are the ones the fitting maker names.
How do I cut multilayer pipe for a press fitting?
Cut it square to the pipe's centre line with a proper multilayer or plastic pipe cutter, never a hacksaw. A square cut lets the pipe sit evenly against the fitting's stop and shows correctly in the inspection window.
- Straighten first. Coil set makes it hard to cut square. A short length can be straightened by hand. For long, visible runs, a roller straightener takes the curve out.
- Mark, then cut. Allow for the length that goes onto the fitting body.
- Keep the cutter sharp. A blunt blade crushes the pipe oval, and an oval end will not take the insert cleanly.
- Check the end. Look for a clean, square face with no tearing of the aluminium layer.
One manufacturer's instructions for its multilayer press fittings say the pipe must be cut at right angles to its centre line with a multilayer pipe cutter before anything else is done.
Do I need to calibrate and chamfer MLCP pipe?
Yes, after every cut, unless the fitting maker says otherwise. Calibrating re-rounds the bore after the cutter has squeezed it. Chamfering bevels the inside edge so the O-rings slide on without being cut or pushed out of their grooves.
- Calibrate. Push the reamer into the pipe end and turn it. It restores the bore to round and removes the inside burr.
- Chamfer. Turn the chamfer tool clockwise under light pressure until a clean, even bevel runs all the way round the bore. One manufacturer asks for a chamfer of at least 2mm depth on its large 50 and 63mm fittings.
- Clean. Shake out swarf and wipe the end. Grit on an O-ring is a leak waiting to happen.
- Inspect. The bore should be round and smooth, with the bevel even all the way round.
One manufacturer's data sheet for its multilayer pipe says to calibrate after each cut and lubricate the seals before fitting. Some newer fittings are made to go on without calibration or bevelling. At least one manufacturer markets fittings of that kind. Follow the instructions for the exact fitting in your hand. With MaxHeatUFH MLCP press fittings, the fitting instructions are to calibrate and bevel the bore with a reaming or chamfering tool.
The reamer and chamfer tool do different jobs. The reamer fixes the shape of the bore. The chamfer tool shapes the edge. Many installers use both.
How far should the pipe go into the fitting?
All the way to the stop, so the pipe end is visible in the inspection window of the press sleeve. If you cannot see the pipe in the window, it is not fully home and must not be pressed.
- Push straight. Keep the pipe in line with the fitting as you push, so the insert does not pick up the edge of the bore.
- A slight twist helps. Turning the pipe a little as you push lets it slide over the O-rings.
- Check the window. Look at it from the side. The pipe end should fill the window.
- Check the insulating ring. MaxHeatUFH fittings have an insulating ring between the pipe and the brass body. One manufacturer explains why: a divider separates the aluminium from the fitting to prevent galvanic corrosion. Make sure it is present and seated.
Do not mark and push MLCP the way you would copper unless the fitting maker tells you to. On multilayer fittings, the inspection window is the depth check. One manufacturer's technical data describes the windows as the way to confirm pipe depth.
How do you press an MLCP fitting with a U-profile jaw?
Fit the U-profile jaw that matches the pipe size, place it square on the stainless sleeve against the fitting body, and close it until the jaws meet fully. The size on the jaw must match the size of the fitting: a 16mm fitting needs a 16mm U jaw.
- Pick the jaw. U-profile, same size as the pipe. M-profile copper jaws will not form an MLCP sleeve properly.
- Seat it. Place the jaw at right angles to the pipe, around the sleeve and up against the fitting body. One manufacturer's instructions describe the same position.
- Press. On a battery tool, hold the trigger until the cycle completes. On the manual set, close the handles until the heads shut.
- Check closure. The jaws must close fully. One manufacturer says the same: the pliers must close completely. A partial press is not a joint.
- Repeat for each end. Mark or tick each pressed end so nothing is missed before the test.
After pressing, look for an even ring of crimping all the way round the sleeve, and check the pipe is still visible in the window. If the pipe has backed out, cut the joint out and start again with a new fitting.
How do I test MLCP press joints?
Pressure test with water before any pipe or joint is covered by screed, boards, plaster or insulation. A competent person should carry out the test and record the result.
- Look first. One manufacturer asks for a visual check of the whole installation before testing. Make sure every fitting is pressed.
- Water supply pipework: One manufacturer tests to BS EN 806-4 or the Water Fittings Regulations, with clean cold water, at up to 1.1 times the maximum design pressure and at 25°C or below.
- Heating pipework: One manufacturer gives a post-installation test of 1.5 times working pressure for its multilayer pipe.
- Fitting rating: MaxHeatUFH MLCP press fittings are rated to a maximum working pressure of 10 bar, so stay within that.
One manufacturer's fittings have a leak-path feature, so a joint that has not been pressed shows itself during the test. Check whether your fittings have one. For underfloor heating loops and manifolds, follow our pressure testing underfloor heating guide, which covers the test method and records.
What are the common mistakes when pressing MLCP?
The most common mistakes are skipping calibration, pressing a pipe that is not fully home, and using the wrong jaw. All three can look fine and still leak.
| Mistake | Result | Fix |
|---|---|---|
| Hacksaw cut | Angled end, burrs | Use a pipe cutter |
| No calibration | Oval bore, cut O-ring | Ream and chamfer every cut |
| Pipe not in window | Joint pulls apart | Push home, check window |
| Wrong profile or size | Sleeve not formed | U jaw, same size |
| Jaws not fully closed | Weak grip | Re-make with new fitting |
| Joint under strain | Slow weep later | Support the pipe, no side load |
| Unapproved tool | Warranty lost | Use maker-listed tools |
A pressed MLCP joint cannot be undone. If anything is wrong, cut it out and fit a new one. Keep a few spare fittings on the van for this reason. MaxHeatUFH MLCP press fittings are sold in full bags or boxes, for example the equal straight connector, sold by the bag.
For sizes, bores and where MLCP can go, read our MLCP multilayer pipe guide. For the full range of fittings, see MLCP fittings.
Design your UFH system yourself in 3 minutes with MaxHeatUFH ProLoop and get an instant quick design and quote. Start your design
Frequently asked questions
Can I press MLCP fittings with a copper press jaw?
No. MLCP press fittings need a U-profile jaw in the same size as the pipe. M-profile jaws are made for copper press fittings and will not form the stainless sleeve correctly.
Do I need to calibrate multilayer pipe every time?
Yes, for any fitting whose maker asks for it, and that includes MaxHeatUFH MLCP press fittings. Calibrate and chamfer after every cut, even a short trim.
How do I know the pipe is fully inserted?
The pipe end shows in the inspection window of the stainless press sleeve. If you cannot see it, push the pipe home before pressing.
Can I re-use or re-press an MLCP fitting?
No. A pressed fitting is permanent. If the joint is wrong, cut it out and fit a new fitting on freshly prepared pipe.
Is a manual press tool good enough for MLCP?
Yes, for U-profile multilayer fittings that the tool is made for. The MaxHeatUFH manual set presses 16 to 32mm. A battery tool is quicker if you make a lot of joints.
What pressure and temperature are MLCP press fittings rated for?
MaxHeatUFH MLCP press fittings are rated to 10 bar maximum working pressure and 80°C continuous, with a 95°C peak. They suit heating, underfloor heating and hot and cold water.
Can MLCP press fittings be buried in screed?
Check the pipe and fitting maker's rules first. On water supply pipework, the Water Fittings Regulations guidance calls for as few joints as possible in floors and access for inspection. Our guide to repairing damaged UFH pipe explains the options.
Sources: Water Regs UK: concealed and accessible, MaxHeatUFH MLCP press fitting product data
Products in this guide
Watch how each part works and how to fit it, and download its data sheet and install manual.




Every data sheet and manual: Product Library · All videos: MaxHeatUFH on YouTube
Design it in MaxHeatUFH ProLoop
Add your rooms, choose screed, overlay, joisted or electric, and get a free quick design and full kit list with prices.