How to fit underfloor heating spreader plates from below in a joisted floor
How to add water underfloor heating to a timber floor from underneath without lifting the floor: when it works, planning runs between joists, joist drilling limits, fixing plates, insulating and testing.
Short answer: Working from a cellar, an open void or with the ceiling below taken down, fix aluminium spreader plates tight to the underside of the floor deck between the joists, clip the pipe into the plate channels, and pass the pipe from bay to bay through holes drilled on the joist centre line within Building Regulations limits. Then push insulation up so it touches the underside of the plates, hold it in place with boards fixed between the joists, pressure test and close up. The floor above stays untouched.
Fitting from below is the way to add water underfloor heating to a timber floor without lifting a finished floor. It suits ground floors over a cellar or deep void, and upper floors where the ceiling below is being replaced anyway. The finished floor, its fixings and its threshold heights stay exactly as they are.
The trade-off is access and heat output. You work overhead in a tight space, the pipe has to cross every joist it meets, and the heat must pass through the existing floor deck. This guide shows how to plan and fit it properly. For how it compares with routed chipboard and plates fitted from above, see our guide to underfloor heating in joisted timber floors.
When does fitting underfloor heating from below make sense?
When you can reach the underside of the joists and do not want to lift the floor above. Typical cases are a cellar below the room, a crawl space deep enough to work in, or an upper floor where the ceiling below is coming down.
One leading manufacturer describes its fit-from-below plate as working even when the floor above is already installed, for example over cellars or where floor coverings are already in place, and with both traditional and I-beam joists. For I-beam and other engineered joists, the joist maker's rules decide where you may drill, so check them before you plan the routes.
It is less suitable where:
- The void is too shallow to work in.
- Pipes, cables or steels run below the joists and cannot be moved.
- The room has a high heat loss, such as large glazing or poor wall insulation. A heat loss check comes first. Our guide to heat loss and UFH output shows how.
What do I need to fit spreader plates from below?
You need plates made to fit from underneath, pipe, insulation with something to hold it up, fixings, and a way to bring the loops to the manifold.
| Item | Notes |
|---|---|
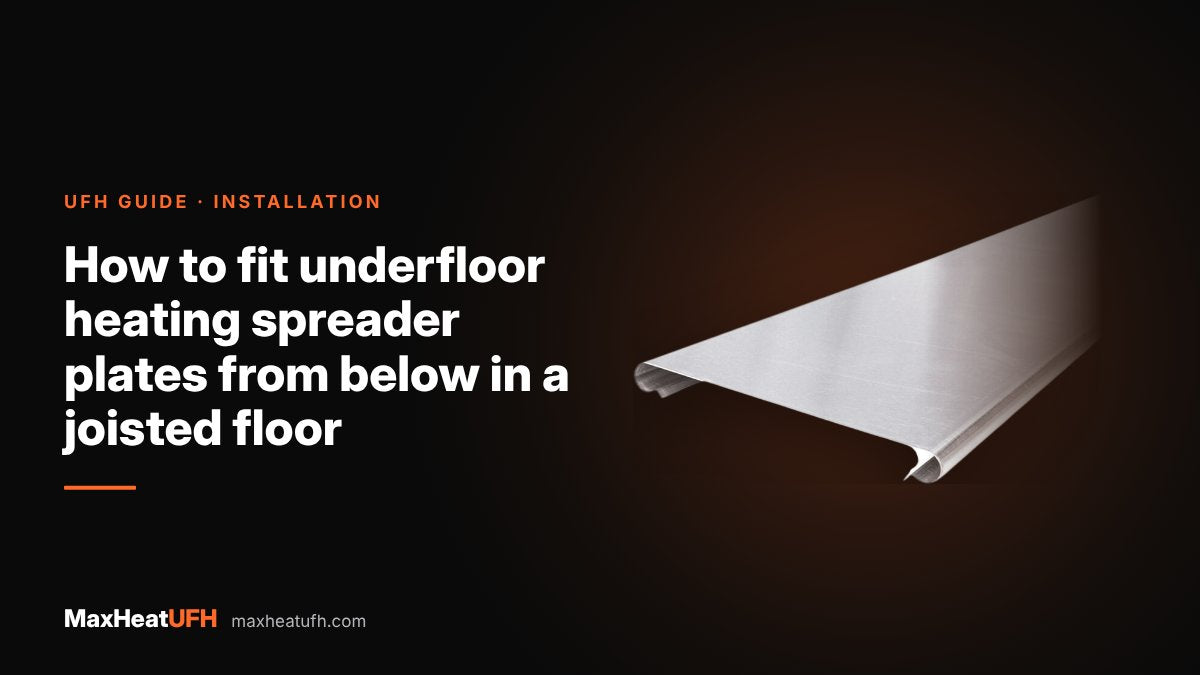
| Fit From Below Aluminium Double Spreader Plate | 150mm wide, two channels, so two pipe runs per plate. |
| Multilayer (PERT-AL-PERT) pipe | Holds its shape when bent, which helps when working overhead |
| Insulation | To fill the bay up to the plates |
| Support boards or battens | Fixed between the joists to hold the insulation up |
| Short fixings | Long enough to hold the plate, short enough not to reach the floor surface |
| Pipe support bends and manifold | To bring the tails up cleanly to the manifold |
How do I plan the pipe runs between the joists?
Run the pipe along each joist bay, parallel to the joists, then cross into the next bay through a hole. Plan every crossing before you drill, because the holes decide where the loop can go.
- Measure the joists. Note their depth, the joist centres, the span between supports and anything already running through the void.
- Set the runs per bay. A double plate takes two runs. At typical joist centres one double plate per bay gives two runs along each bay.
- Mark the crossing zones. Holes are only allowed in certain parts of the span (see the next section), so the loop crosses between bays in those zones.
- Lay out the plates. One leading manufacturer, writing about plates in suspended floors, aims to cover about 80% of the floor, with plates never touching or overlapping.
- Keep loops to size. Each loop needs its own pair of manifold ports, so add up the bay runs, crossings and tails for each loop.
- Mark the floor above. Note where existing nails, screws and fixings come through the deck, so you do not lay pipe where they are.
Design your UFH system yourself in 3 minutes with MaxHeatUFH ProLoop and get an instant quick design and quote. Start your design
Can I drill joists to pass the pipe through?
Yes, within limits. LABC guidance for solid timber joists in homes sets where and how big holes and notches can be. Outside these limits, get a structural engineer or building control to check first.
| Rule | Holes | Notches |
|---|---|---|
| Where in the depth | On the centre line only | Top or bottom, not both |
| Maximum size | 0.25 x joist depth, and 65mm | 0.125 x joist depth, and 35mm |
| Where along the span | 0.25 to 0.4 of the span | 0.07 to 0.25 of the span |
| Spacing | At least three diameters apart, centre to centre | - |
On a 2m span, that puts holes between 500mm and 800mm from the support. Working from below, drilled holes are usually better than notches: a notch in the top of the joist cannot be cut without lifting the floor, and a pipe in a bottom notch sits where the ceiling fixings go. LABC also says to check that the joist is big enough for its span before you start, and that its guidance does not apply to engineered joists.
How do I fix the plates and pipe from below?
Push each plate up tight against the underside of the floor deck, fix it, then clip the pipe into its channels. Good contact between plate and deck is what moves the heat into the floor.
- Clean the underside. Brush off dust and old debris so the plate sits flat on the boards.
- Fix the plates. Hold each plate flat to the deck and fix it with short fixings that cannot reach through to the floor surface. Keep plate edges flat so they do not cut into the pipe.
- Thread the pipe. Feed the loop through the joist holes from bay to bay, leaving enough slack at each hole that the pipe is not kinked by the turn. One leading manufacturer gives 5 times the pipe diameter as the minimum supported bend radius.
- Clip the pipe in. Press each run fully into the plate channel along the bay.
- Bring the tails to the manifold. Use pipe support bends where the pipe turns up and label each loop.
One leading manufacturer stresses that plates must be in contact with the floorboards above and with the insulation below. Gaps on either side cut the output.
How do I insulate under fit-from-below plates?
Fill the bay below the plates with insulation that touches them, and hold it up with boards fixed between the joists. Any air gap between the plates and the insulation lets heat go down instead of up.
One leading manufacturer's guidance for suspended floors uses insulation between the joists in contact with the underside of the plates, for example 100mm mineral wool, supported by boards such as plywood fixed between the joists, and warns that air gaps reduce performance. Over a cold cellar or ventilated void, more insulation helps, because the heat has two ways to go and you want it all going up. Our guide to insulation under underfloor heating covers the options.
If you have taken down a ceiling to do the work, the ceiling you put back may be part of the fire separation or sound insulation between floors. Ask building control before you start what the new ceiling must achieve.
How much heat will a fit-from-below floor give?
Less than a screed floor at the same water temperature, because the heat has to pass through the timber deck and the existing floor finish. Treat it as a low to moderate output system and design to the room's heat loss.
The figures depend on the plate, the deck thickness and the floor finish's tog, so use the plate maker's output data for your build-up. Rooms with low heat loss, a thin deck and a low-tog finish do best. If the heat loss is higher than the floor can give, add insulation to the room, choose a lower tog finish or keep a radiator for top-up.
How do I test and close up?
Fill, purge and pressure test every loop before you insulate or close the ceiling. Once the boards are up, a leak is much harder to reach.
- Test first. Follow our guide to pressure testing underfloor heating and keep the record.
- Photograph the routes. Take photos of every bay and hole before you insulate, and keep a marked-up plan.
- Warn whoever fixes the ceiling. Ceiling screws must miss the pipe, so mark the pipe positions on the joists.
- Commission slowly. Timber floors do not like sudden heat. Raise the flow temperature gradually and stay within the floor finish maker's limits.
Products for this job
- Fit From Below Aluminium Double Spreader Plate (150mm)
- PERT-AL-PERT Multilayer UFH Pipe
- Pipe Support Bend
- All joisted floor systems
Frequently asked questions
Can you install underfloor heating without lifting the floor?
Yes, if you can get underneath. Fit-from-below spreader plates go on the underside of the floor deck from a cellar, a deep void or with the ceiling below removed.
How big a hole can I drill in a joist for UFH pipe?
LABC guidance for solid timber joists allows holes on the centre line up to 0.25 of the joist depth and no more than 65mm, between 0.25 and 0.4 of the span, at least three diameters apart.
Can I fit plates from below on engineered joists?
Often, yes, but the joist maker's rules decide where you can make holes. The standard rules for solid timber joists do not apply to engineered joists.
Do I need insulation under fit-from-below plates?
Yes. Without it, much of the heat goes down into the void or the room below. Push the insulation up so it touches the plates, with no air gap.
Is fit-from-below UFH as warm as screed?
No. The heat passes through the timber deck and the floor finish, so output is lower at the same water temperature. It suits rooms with lower heat loss.
Can I use fit-from-below plates upstairs?
Yes, from the room below with the ceiling down. Ask building control what the new ceiling must achieve for fire and sound before you start.
Which pipe is best for fitting from below?
Multilayer pipe is easiest overhead because it holds its shape once bent, so it stays in the channels while you work along the bay.
Sources: LABC: notches and holes in solid timber joists, and manufacturers' installation guidance to BS EN 1264
Products in this guide
Watch how each part works and how to fit it, and download its data sheet and install manual.


Every data sheet and manual: Product Library · All videos: MaxHeatUFH on YouTube
Design it in MaxHeatUFH ProLoop
Add your rooms, choose screed, overlay, joisted or electric, and get a free quick design and full kit list with prices.